
LAMP, or otherwise referred to as the “LAMP stack” (no, not a stack of light-emitting furniture) is a popular software stack typically installed together in a server environment.
The acronym stands for Linux, Apache, MySQL/MariaDB, and PHP. All of which are required to serve dynamic websites from a virtual private server. Without further ado, let’s dive into installing the LAMP stack on your own server in just 5 easy steps.
How to install LAMP on CentOS 7 (5 Steps)
Before we learn how to install LAMP on CentOS 7, let’s observe the function which each piece of software servers. Firstly, Linux. In this case, CentOS 7 will serve as the base operating system for our server and is one of the most, if not the most popular Linux distribution deployed with virtual private servers.

Next, we have Apache which is our web server to “serve” files and interpret the dynamic structure of our websites. MySQL/MariaDB are both relational databases, which contrary to non-relational databases, have a set of tables, columns, and rows to structure inserted data. Lastly, we’ll install PHP on CentOS 7 as our server-side scripting language.
Summarized, here are the 5 steps we’ll be taking to install LAMP on CentOS 7:
- Deploy a CentOS 7 server
- Create a non-root user with sudo privileges
- Install Apache on CentOS 7
- Install MySQL on CentOS 7
- And lastly, install PHP on CentOS 7
1) Deploy a CentOS 7 virtual private server
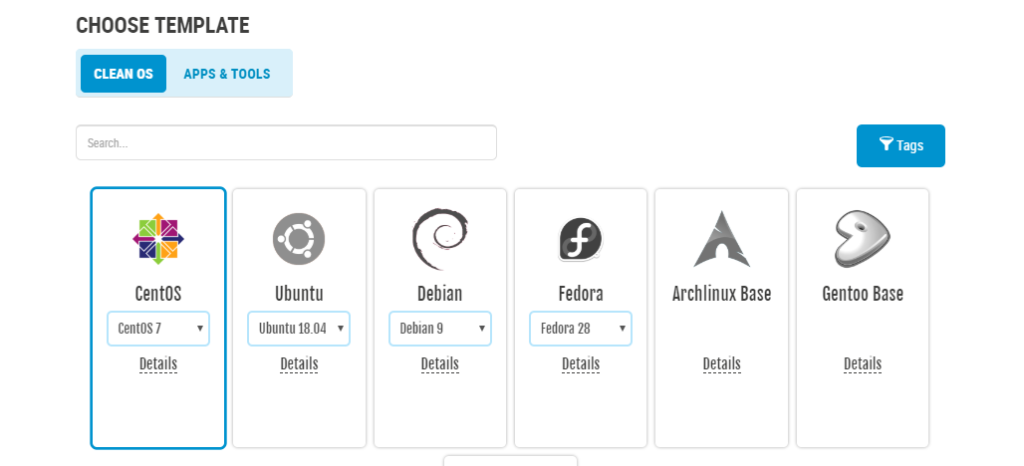
In order to get our server environment deployed to start installing the software stack, we’ll first need to deploy it. This will serve as the “Linux” portion of the LAMP stack. To get started, click the button below which will take you to a screen matching the reference image below.
If you already have a CentOS 7 server deployed, this step can be skipped
There are two things to assure here:
- That “Clean OS” is selected
- And CentOS 7 is selected
- These two should be selected by default but just make sure to double check
Once you have your data center and resources selected, simply scroll to the bottom of the configuration page to put in your VPS information and hit “GO”.
2) Create a non-root user and grant them sudo privileges
An important part of administering any server online is that you avoid using root at all costs. There are a number of reasons to avoid this for security purposes, however, that discussion is for a post of its own. For now, let’s create a new user for our server.
Once deployed, you’ll have the option to connect to your server via the built-in SSH console on your user dashboard. Keep in mind you can SSH into your server using any third party software or terminal as well.
Create a sudo user
Once you’ve logged into your server, you can create a new sudo user. But first, we’ll need to install sudo. We can do this using a few simple commands

This will create a new user
![]()
This command will allow you to set the password for the new sudo user. Follow the prompt when it asks for a new password and re-entry of the new password.
Now we’ll make the new user a sudo-user.
![]()
This will add the newly-created user to the “wheel” group and grant sudo privileges. Now switch to the new user with the following command:
![]()
Now you can verify that the new user does, in fact, have sudo privileges by testing a sudo command. After this we’ll be all set to install Apache on CentOS 7.
![]()
Update your system
Before we go any further, let’s also update our system (another good practice when deploying new servers). We can do this by running:
![]()
Did you know: You can install and configure the LAMP stack in just one-click using a template?
Install LAMP Stack in One Click
3) Install Apache on CentOS 7

Next, we’re going to install Apache on CentOS 7 and additionally confirm that the web server is up and running. We can do this by running the command:
![]()
Enter Y when it prompts you if you’d like to continue.
When the installation is complete, start the web server by entering this command:
![]()
Start Apache
In order for Apache to start on boot, run the following command:
$ sudo systemctl enable httpd.service
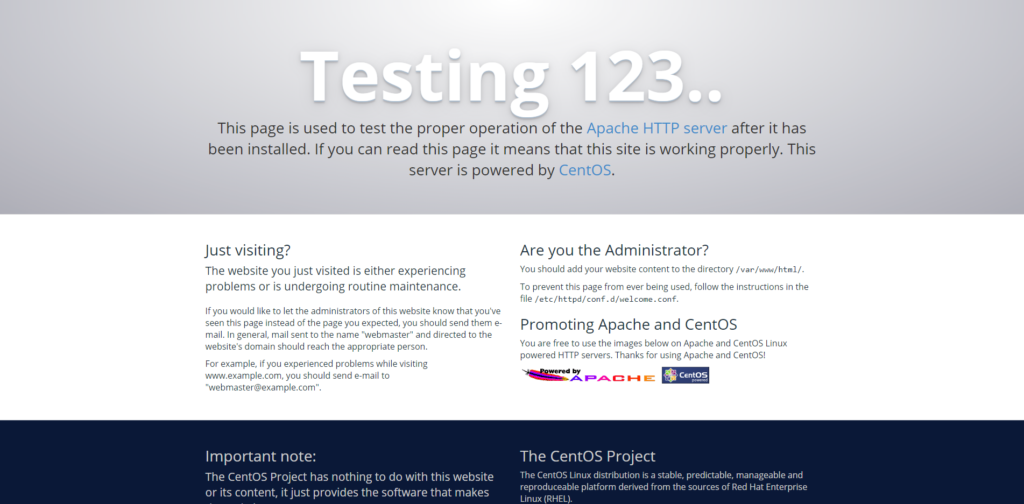
Now that Apache is set up and running, we can test that it’s working by navigating to the server’s public IP address. This can be found at both the bottom of the SSH console or on your SkySilk user dashboard.
4) Install MySQL on CentOS 7
In order to install MySQL, we’re going to use wget. Wget is simply a program that retrieves content from web servers and its the method in which we’re going to pull the latest mysql-community package manager.

To install wget:
![]()
And once again, enter Y when prompted. This should take no more than a few seconds.
Download and update the MySQL repository
First we’ll download the repository using wget:

Upon running sudo yum update here, you should only notice the MySQL packages get updated.
Install MySQL and security
Now we’ll install MySQL itself and start the service as we did with Apache. We can do this using two simple commands:

Secure installation
Running this script will harden database security and allow you to change the root database password as well.
![]()
After the installation finishes, you will see a prompt in the terminal asking if you’d like to change your root MySQL password. Press Y and hit enter and continue through the steps to secure your database.
5) Install PHP on CentOS 7

Now we’ll install PHP on CentOS 7 to act as the server-side scripting language.
![]()
Once PHP is installed, we’ll need to restart the Apache web server so that the two work in harmony.
![]()
Test that PHP is working properly
Next, we’ll install nano to ensure that PHP is running properly. Nano is simply just a text editor to write code with inside the terminal.
![]()
Please note that nano may already be installed on your system. If this is the case you’ll get a message stating such and you can ignore this step.
Create the test file
Once you successfully install nano, create a .php file to test that it is working.
![]()
This will open the nano text editor at the file destination. Now we can write a small PHP script to test.
Quick tip: <?php ?> are opening and closing tags for writing a PHP script.

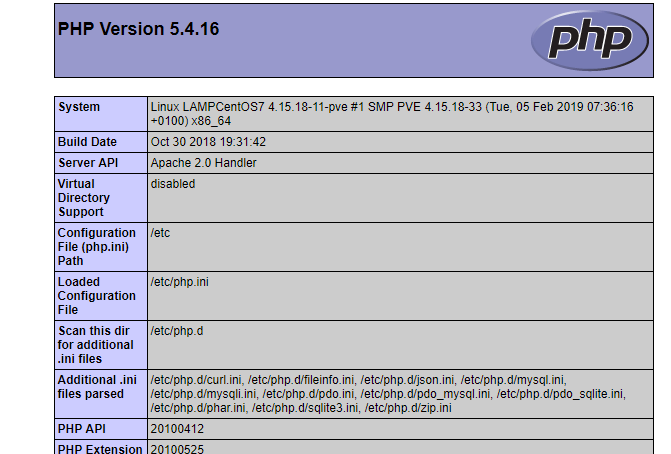
To check that the file is working properly we can navigate to this address (type this into your browser):
![]()
In Conclusion
Congratulations! You’ve successfully learned how to install LAMP on CentOS 7 and are ready to start building your website. With this software stack you can run any type of dynamic website, and Apache is built for large-scale dynamic sites.
On the contrary to manually installing the LAMP stack manually, there is also a one-click solution available. This template will install the LAMP stack on top of Debian as the distribution. If you’d rather have a one-click install, you can use the link provided below.
Install LAMP Stack in One Click
Given the fast pace of web technology, it’s highly recommended to learn one of these frameworks if you’re deploying and building websites/web applications.
Use promo code “SKY95LAMP” to save 95% off your first month. Offer is valid for new users only.


