
Are you the kind of person that just wants to do something quick and easy? Do you hate having to set up new configurations and make sure you did something correctly? Fortunately, there’s a solution for you and it’s called YunoHost. YunoHost is a server operating system which allows self-hosting to become greatly accessible.
Beginning the YunoHost Installation
Installing YunoHost is straightforward, and you can do this with a VPS right out of the box. First, you’ll need to deploy a Debian 9 server.
Deploying a Debian 9 Server
We’ll cover deployment in 3 simple steps:
- Sign into your SkySilk account (or sign up if you don’t already have one).
- Select Debian 9 as your VPS configuration.
- Deploy your Debian 9 server.
Access your SkySilk account
The first step here is quite self-explainatory. If you have a SkySilk account, simply login and head to the VPS creation process here. Otherwise you can get started using the button below.
Get $10.00 of VPS Hosting Credits
Select Debian 9 as your Linux distro
Once on your account page, simply hit the “Create VPS” button to get started with the deployment process.
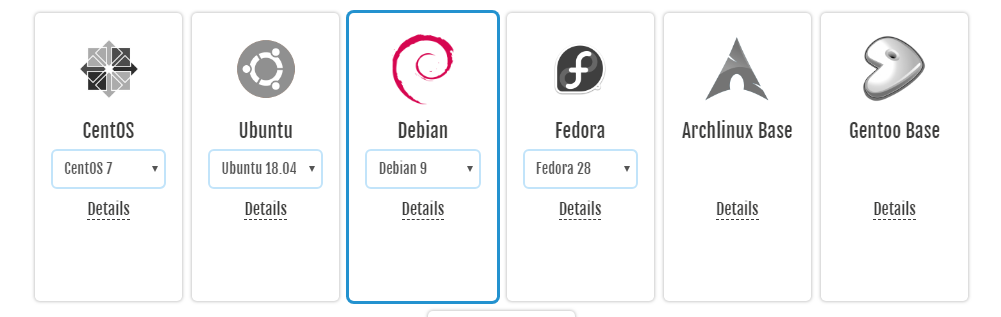
You’ll see a panel of options for the available Linux distros. Select Debian 9 and you’ll be taken through the rest of the deployment process to configure your location and resource options.
Deploying Debian 9
Once you’ve selected your options and named your server, hit “GO” at the bottom of the page and your server will deploy!
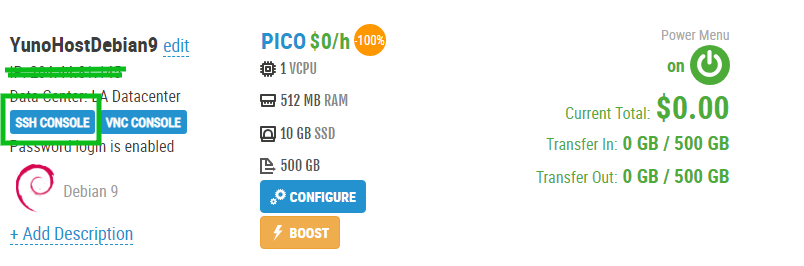
You’ll be automatically redirected to your VPS dashboard where you can open the SSH terminal. Login to your machine and you’ll be greeted with an empty terminal reading “root@<your_server_ip>”. Now we’re ready to install YunoHost.
Installing Curl
Installing curl can be done using a simple command. The first line will install system updates and the “&&” operator simply tells the computer “and”, which chains the commands together.
apt-get update && apt-get install curl
Installing YunoHost
Once curl has finished installing, we’ll start by going through the dialog YunoHost has on its website.
For installation on a virtual private server you can refer to the documentation here.
Once your Debian 9 server is set up, type in the following command:
curl https://install.yunohost.org | bash
This will install YunoHost and all of its required packages. You’ll see a progress box within your terminal that looks like this:
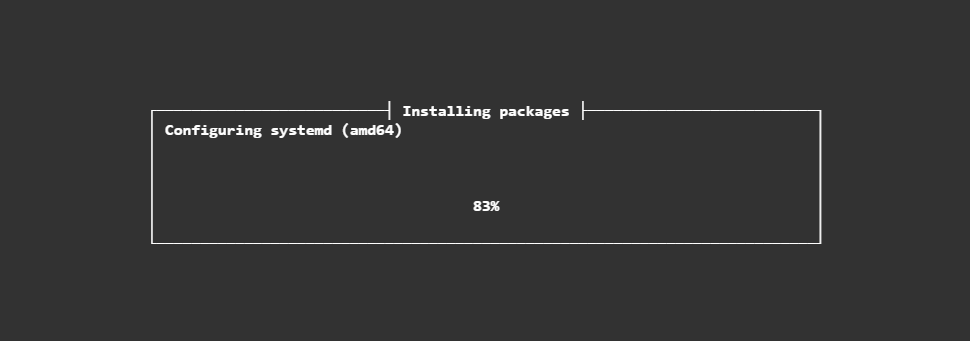
P.S. – This process may take several minutes.
Post-installation process
Once you’ve run the aforementioned command and YunoHost is fully installed on your VPS, we can continue to the post-installation procedure.
Navigate to your server’s IP. This can be found either on your VPS dashboard or in the bottom left corner of the SSH terminal. You’ll be redirected to a page that looks like the following:
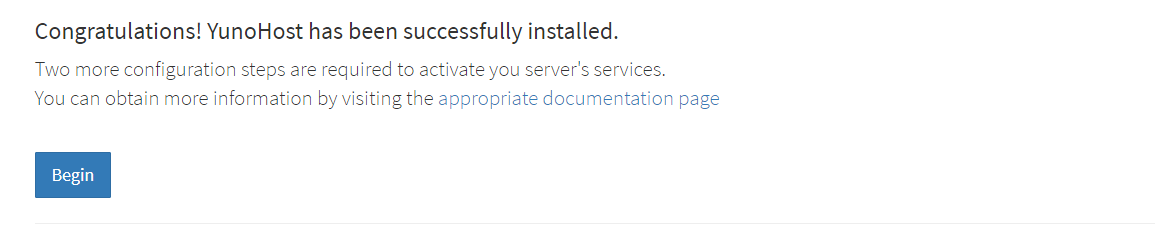
Select “Begin” to get started. You’ll be taken through a few steps of initial configuration and setting your admin credentials. Once this is complete, it will automatically launch the post-setup installation process. This will also take a few minutes.
Side note for Chrome users
If you’re using Chrome with the plain IP address, you may encounter an issue where something may be too new. An easy bypass is using Cloudflare, which is a great DDOS protection platform.
Once you’re in, select a strong admin password and initial domain, or use DynDNS. If you get booted from your VPS, YunoHost synced the root password with the YunoHost admin account password.
Some additional configuration
Congratulations! YunoHost is now successfully installed and ready to go. From here, you can refer to their documentation, or proceed further for additional setup tips including an email client or hosting a web application.
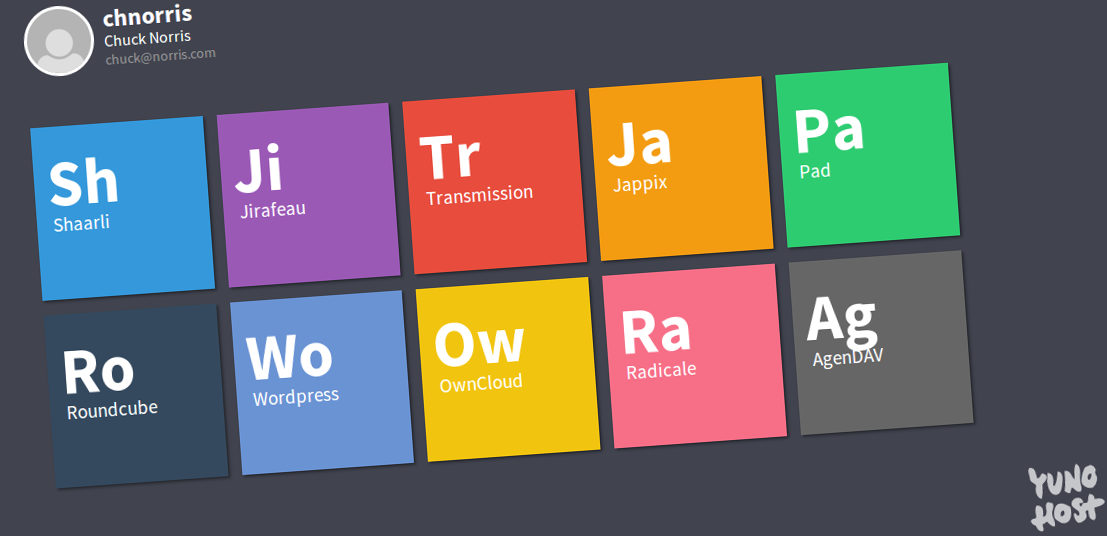
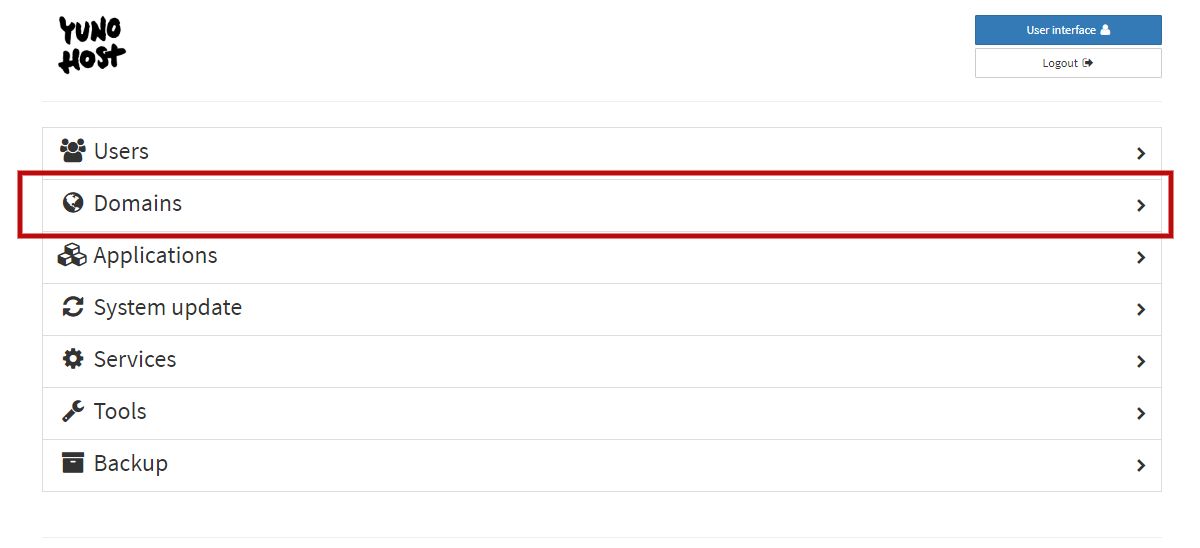
Logged in YunoHost Admin Panel
Once you’re logged in, there are some things for you to do. Add a user account by clicking Users -> Add User. Fill in the user’s details, set the email, and set up email space. YunoHost includes an email server, but not an email client. I’ll show you how to install that along with setting up credentials.
Setting up an E-mail Client
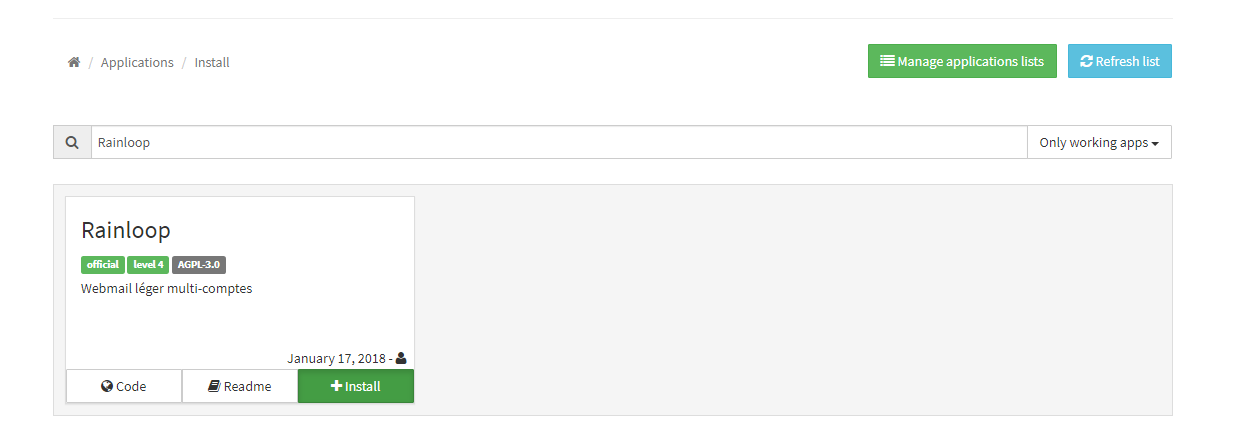
The YunoHost community has made two clients available to you, Roundcube and Rainloop.
Rainloop is typically recommended for its simplicity and superior appearance. To configure Rainloop, you’ll need to add a subdomain for YunoHost for your mail client.
You can install it on your main domain, however, you won’t be able to install an NGINX website. In the admin panel, create a domain in Domains, as there is no official subdomain section.
Once you’re done, go to Applications -> Install and use the Search Apps to find the email client of your choice. Click install again and set a label, click the dropdown and click your domain, change the path to /, and put an admin password in if applicable.
It’s recommended that you leave Public Application as no, otherwise, other users could use it for their email server. If you’re using Rainloop, you can select an option that lets you add people to the suggested list, this doesn’t cause any lag and works well.
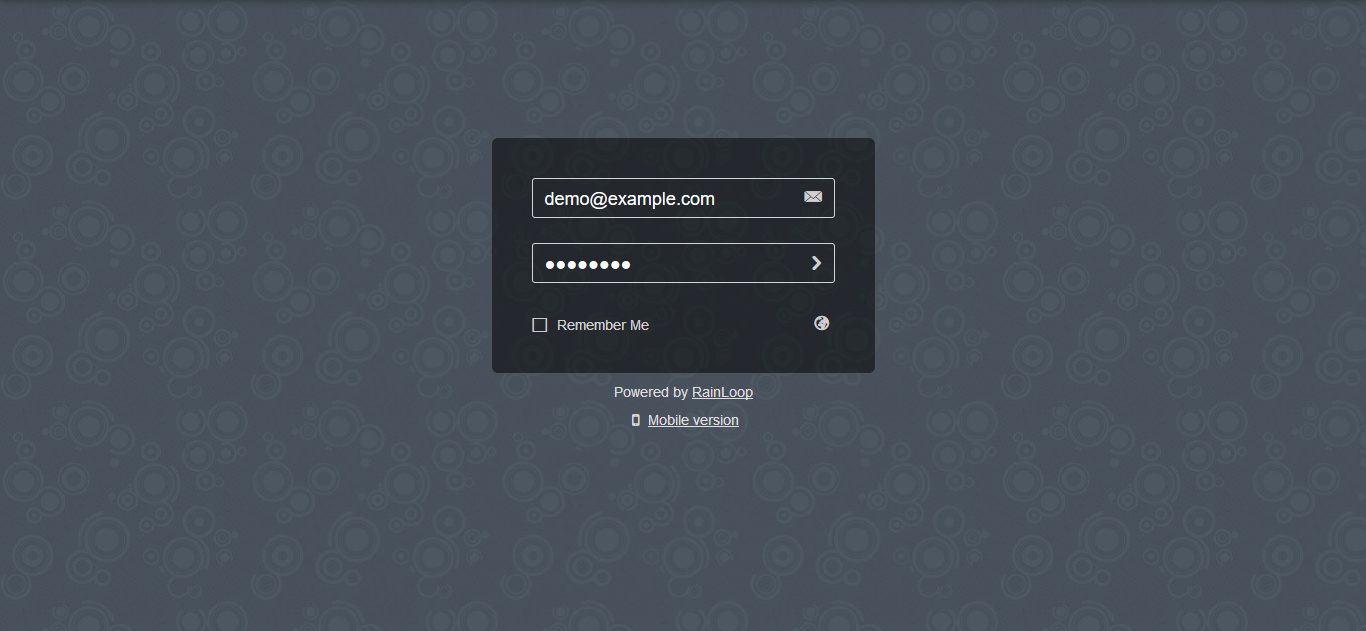
If you selected Rainloop, you can configure it by going to <address>/app/?admin and use the username admin along with the password you set.
On YunoHost, go to Domains -> The domain you want emails sent from -> DNS Information and set the email related records. Use mail-tester.com to check your spam level.
Setting Up a Web Application
In order to set up a web application, go to Applications -> Install Application and search “web”.
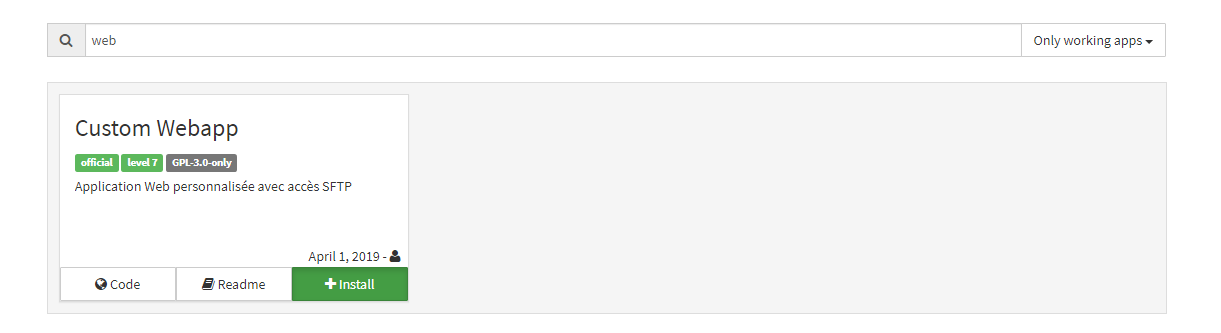
Select “Custom Web app” and hit install. Go through the installation and select an SFTP password. It recommends that you install phpMyAdmin instead of selecting its option for a MySQL database. Once these options are configured, make sure your path and other information are correct.
Go to the address is selected, and you’ll be brought to a default page along with basic information for logging in.
General YunoHost Management
See a list of available apps for installation on YunoHost here
From time to time, updates will be released for YunoHost. Click System Update and make sure to update the software you desire.
Use promo code “SKY95YUNO” to save 95% off your first month. Offer is valid for new users only.


