
Online gaming: The holy grail and lofty goal of many aspiring game developers out there. There is something about other humans being able to connect, compete, and sit in awe of your creation. With new technologies emerging and evolving rapidly, creating your own multiplayer game for others to enjoy is becoming more and more realistic. In this tutorial, you are going to learn how to make your own online game with Node.js.
Our game will be a group rock-paper-scissors game, with an automated AI opponent. Players will choose their move, and receive points in the event that they defeat the AI. Players will have their scores compared to other players in the game in real-time, and they will also be able to chat with one another.
How to Make Your Own Online Game
Before You Get Started
For this tutorial, we are going to build on a previous SkySilk tutorial: How to Create A Real-Time Chat App with Node.js. The code from that tutorial will serve as a foundation to this project, so it is wise to read and understand that article and have the code ready to go. This tutorial also assumes that you’re comfortable navigating a VPS with command line tools and have a working knowledge of HTML, CSS, Javascript, and Node.js. If you need a refresher on any of these concepts or have any questions, feel free to pop into the SkySilk Discord server and join our community of developers.
At the end of our chat app tutorial, we ended up with a page that looks like this when we navigate to the IP address of our VPS and include the port our app is listening on:
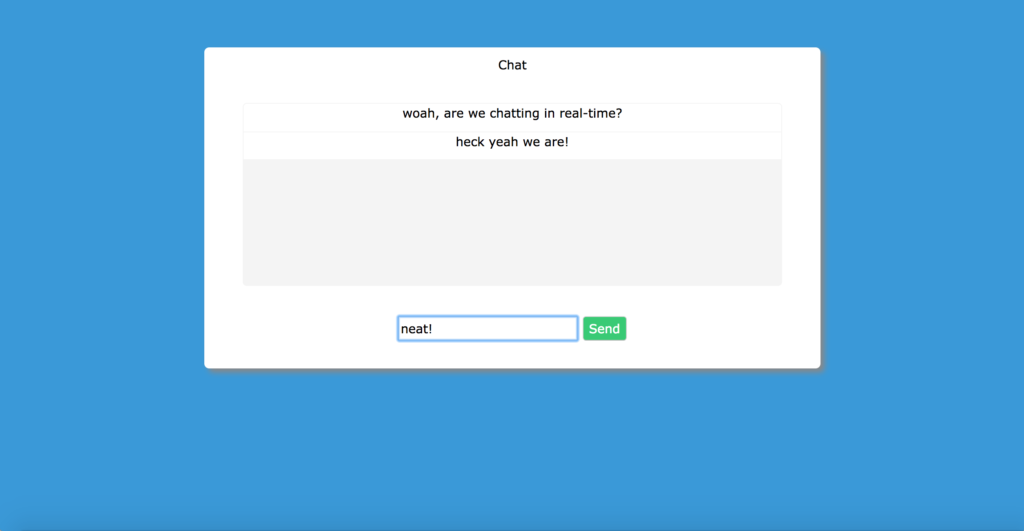
With this app, users can chat in real time, and we bidirectionally communicate between client and server. This is the base functionality we will need for our game, so the chat project is a great base for our game.
Building a Multiplayer Game: UI Design
We aren’t going to get too fancy with the UI design for our game. This tutorial on JavaScript game development will focus more on functionality. That being said, we still have some work to do on our layout. The first thing we want to do is make our chat box smaller, and move it to the side since it isn’t the main focus of our game.
We also need to add our main game view, where the results of the AI’s choice will be displayed, along with a countdown timer and the player’s choices. Open up the index.html file from our chat app and change the style and HTML sections
That will leave us with a page that looks like this:
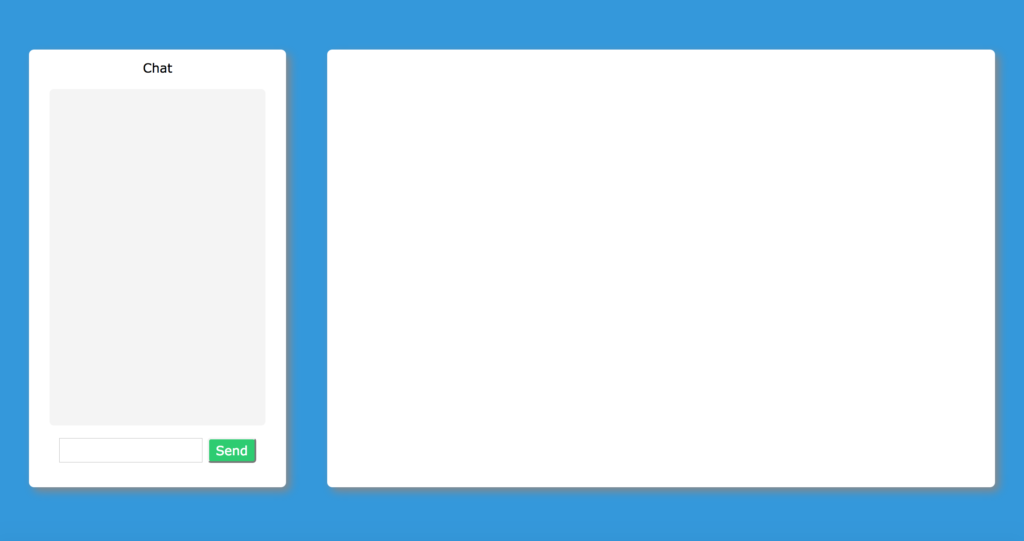
Not a bad foundation for us to start learning how to make a JavaScript game. Let’s move on to developing the actual logic of the game.
Creating a Multiplayer Game: The Boss
As was stated at the beginning of the article, the players will be playing against an AI instead of each other. This big bad rock-paper-scissors boss will make its choice every x amount of seconds, and send the result to all connected clients.
Open up your app.js file and add the following lines of code:
function selectMove () {
    //generate a random number 0, 1, or 2 to decide what move to make for the AI
    var move = Math.floor(Math.random() * Math.floor(3));
    if(move == 0){
        //rock
        console.log('the boss has selected rock');
    }
    if(move == 1){
        //paper
        console.log('the boss has selected paper');
    }
    if(move == 2){
        //scissors
        console.log('the boss has selected scissors');
    }
}
setInterval(function(){
    //select a move every 3 seconds
    selectMove();
    }, 3000);
Here we have added a function that will generate a random number, either 0, 1, or 2. Each number corresponds to a viable move. In this case rock, paper, or scissors. We then call this function every 3 seconds with the setInterval method, so our boss bot makes a move every 3 seconds. As a refresher, setInterval is a method which calls a function every (X) amount of milliseconds and can be quite useful in JavaScript game development.
If you run your app now, you should see a random move being selected and printed every three seconds. This is just dandy, but now we need to do something with these moves!
Real-Time Multiplayer Online Game: Sending Game States
A crucial part of learning how to make a JavaScript game is understanding that our game will exist in different states. There will be two principle states involved: selection and results. During the selection state, players will have the opportunity to select a move, and the AI’s choice will be unknown, or “deciding”.
In the results state, the AI’s choice is revealed and displayed for a few seconds, and the player will get points if they defeated the bot.
Creating the Players Variable
First, we need a way to keep track of our players. Add this players variable towards the top of your app.js file:
var players = {};And add this code to your socket connection event:
var playerId = Math.random();
SOCKET_LIST[playerId] = socket;
players[playerId] = {id:playerId, score:0, move:null}
//inform client of player's id
socket.emit('setPlayerId', playerId);
This gives us a way to keep track of the players in our game. When a new player connects, we were already generating a random id and identifying their socket with it. We are now creating a new player object and adding it to our list of players, so we can keep track of several variables we care about for each player.
We also send the player’s id to the client, so the client can respond to events involving the player. Next, we need to update our index.html file to respond to this event. Add these lines to the index file:
 var playerId;
socket.on('setPlayerId',function(data){
        playerId = data;
    });
Now our client will be able to differentiate between its player and the other players.
We now need to utilize our new list of players. Let’s edit the code we previously wrote for the game logic:
//0 is selection, 1 is results
var gameState = 0;
//the ai's move selection
var botSelection = 0;
function selectMove () {
    //generate a random number 0, 1, or 2 to decide what move to make for the AI
    var botSelection = Math.floor(Math.random() * Math.floor(3));
    //game is in result state
    gameState = 1;
    //send the ai's move to all connected players
    for(var i in players){
        var playerWin = playerWinCheck(players[i].move);
        if(playerWin){
            players[i].score += 1;
        }
        players[i].socket.emit('gameResultState', botSelection, playerWin, players);
    }
}
function playerWinCheck (move){
    var playerWins = false;
    //player chose rock
    if(move == 0){
    //rock beats scissors
      if(botSelection == 2){
        playerWins = true;
        }
    }
    //player chose paper
    if(move == 1){
    //paper beats rock
      if(botSelection == 0){
        playerWins = true;
        }
    }
    //player chose scissors
    if(move == 2){
        //scissors beats paper
      if(botSelection == 1){
        playerWins = true;
        }
    }
    return playerWins;
}
setInterval(function(){
            //select a move every 3 seconds
            selectMove();
            }, 3000);
Our selectMove function changed quite a bit! Let’s look at what we changed here. We set the gameState variable to 1 because the selection state has ended and it is now the results state in our game flow. Next, we cycle through our list of players and do a few things. First, we pass the player’s move property as an argument to a new function we added, playerWinCheck.
This will take the player’s move and compare it to the bot’s move. If the player wins, this function will return true. If that is the case, we updated the player’s score by adding a point. Finally, we send the gameResultState to the player’s socket, along with the bot’s move, whether or not the player won that round and the full player list.
We’ve now set the stage for a good portion of our JavaScript game development logic. We now need to respond to these events in our index.html file, and we also need to add the ability for the player to send a move!
The first thing we need to do is handle the gameResultState event. We also need to visually display the RPS (Rock, Paper, Scissors) Boss Bot’s move to the user. Open up the index.html file and add these lines of code within a script tag:
socket.on('gameResultState',function(botMove, playerList){
    console.log('bot move was ' + botMove + ' player win status is '
    + playerList[playerId].roundResult + ' and score is ' + playerList[playerId].score);
    });
Take a moment to run your app, and navigate to it in a web browser. Open your developer tools console and you should see the bot’s move, your round result of 0 indicating a loss, and a score of 0. We now have a functioning game loop, but players need to be able to send input of their own.
Real-time Multiplayer Online Game: Player Input
The next portion of learning how to make a JavaScript game will be based on getting player input. Add these two new classes to your style section of index.html.
Then add these lines to the HTML section:
RockPaperScissors
We now have 3 text buttons that we can click, and they will invoke our playerChose function with their corresponding move number. Let’s add the function to our script section now:
function playerChose(move) {
    socket.emit('playerMove', move);
}
And finally, let’s respond to this event in app.js:
socket.on('playerMove',function(data){
  Object.keys(SOCKET_LIST).forEach(function eachKey(key) {
    if(SOCKET_LIST[key] == socket){
      console.log('player selected: ' + data);
      var thisPlayer = players[key];
      thisPlayer.move = data;
    }
 });
Here we cycle through our socket list and find the player associated with the socket that sent the playerMove event. We then assign that player’s move so it can be processed once the round ends.
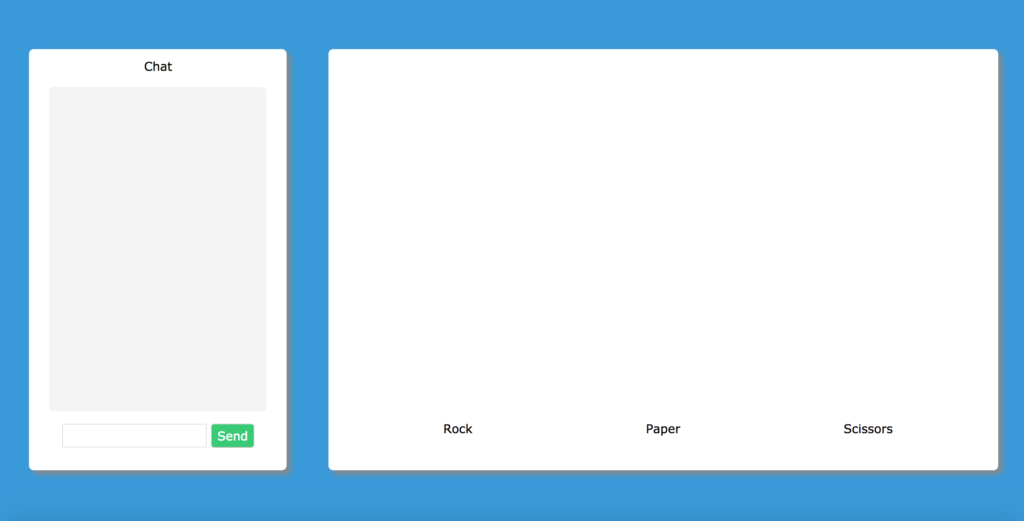
Let’s take a moment to run our app and navigate to our IP address. If everything is set up properly, you should see a result that resembles this:
And if I click “Scissors”, I will see something like this in my console log:

So I can see that the server received my click event of selecting Scissors, which is denoted by the number 2. We then see that the round ended, the bot chose 0 which is rock, and I lost for this round. This is a good indicator that the functionality is working as designed.
We’ve done a lot of coding, and built a mostly functional game at this point. However, everything is occurring under the hood. Our web page hasn’t changed much in look since we started, and it is time to visually represent what is happening to our players.
How to Make an Online Multiplayer Game: Graphics
A major visual element which our JavaScript game development journey is lacking is the state of the enemy bot. When our boss bot is in the deciding state, we are going to display a shadowy question mark. When the round is over and it is decision time, we will display an image that corresponds to the bot’s move selection.
We also need to show the list of players and their scores, and we might as well make the player move buttons more pleasing as well.
Add these classes to your index.html file.
How to Make a JavaScript Game: Closing Thoughts
If you’ve made it this far, well done! This was a rather long tutorial, but with some tweaking and backtracking to improve our functions. However, our final game product is still a very bare bones game alltogether. There are a variety of ways to improve the game’s functionality including:
- Presenting the user with a page to enter a username before taking them to the game page
- When a player connects, immediately send them the player list and update the UI
- If a player connects during the game results round, hide the player button bar
- Create a database and add user registration/login to keep track of scores
We plan to build on this tutorial in the future, so keep an eye out for updates! If you ahve any questions or want to join a community of like-minded developers discussing topics like Node.js and game development, feel free to pop into the SkySilk Discord Server. That’s all for this tutorial. Thanks once again for reading, and happy coding!


