
Developing for High Load
Fortunately, using affordable solutions and clever programming, you can make sure that once the users come, your app will be ready to sustain the load. In this tutorial, we’ll look at how we can leverage the power of the SkySilk cloud, Cloudflare’s Content Delivery Network (CDN) and Node.js multithreading capabilities to make an app that’s performant and globally accessible.

Before we start
This tutorial assumes that you own a domain name and know how to edit its nameservers. You do not need an existing Node.js app to follow this tutorial.
Setting up a VPS and a sample Node.js Application
Before diving into Node.js performance optimization and global content distribution, we first need a sample Node.js application and a server to host it. For purposes of this tutorial, we’re going to set up a Small SkySilk VPS on the Standard plan, and initialize it with the Node.js template.
Creating a Node.js App
```js
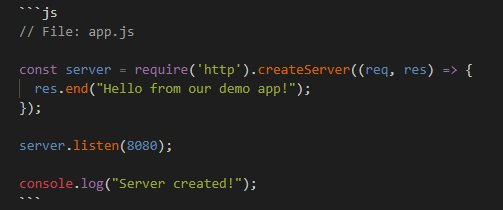
// File: app.js
const server = require('http').createServer((req, res) => {
res.end("Hello from our demo app!");
});
server.listen(8080);
console.log("Server created!");
```You may also be interested in:Learn how to create a larger Node.js app: check out this tutorial on making a real-time chat web app.
Node.js Multithreading: Taking advantage of all available resources
By default, Node.js runs scripts in a single thread – which means your app runs in a single process. On systems with multiple processor cores like your computer or our “Small” SkySilk VPS, this means that only one core will be used to run your app. By restructuring our app to work with multiple threads, we can use the power of all the available processor cores on our system – this is called multithreading.
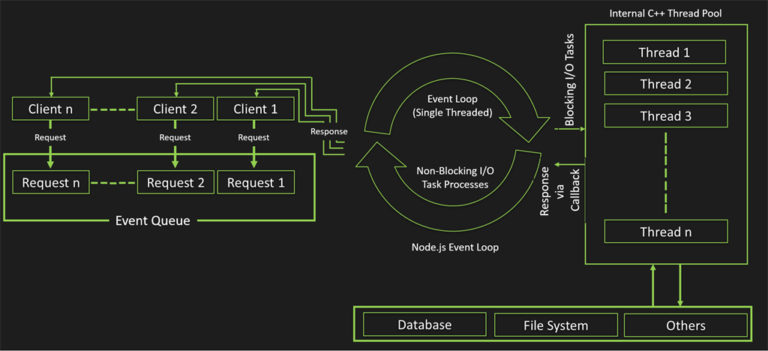
To do so, we’re going to use Node’s built-in [`Cluster`](https://nodejs.org/docs/latest/api/cluster.html) module, which allows for easy creation of child processes that all share server ports. Essentially, dividing the work of handling our web server’s requests between multiple processes which the system will automatically assign to each (v)CPU core.
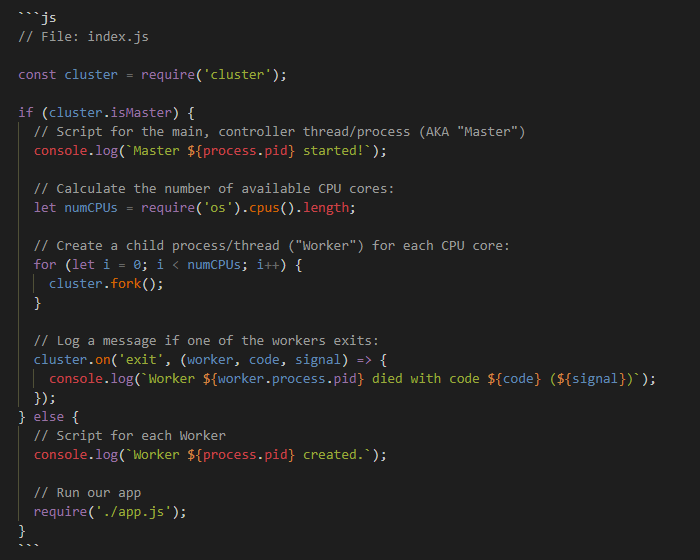
We’re now going to create a new file, `index.js`, in which a “Master” will be tasked to start as many child processes (“Workers”) as we have vCPU cores. Each of those processes will start our `app.js` script.
```js
// File: index.js
const cluster = require('cluster');
if (cluster.isMaster) {
// Script for the main, controller thread/process (AKA "Master")
console.log(`Master ${process.pid} started!`);
// Calculate the number of available CPU cores:
letnumCPUs=require('os').cpus().length;
// Create a child process/thread ("Worker") for each CPU core:
for (leti=0; i<numCPUs; i++) { cluster.fork(); } // Log a message if one of the workers exits:
cluster.on('exit', (worker, code, signal) => {
console.log(`Worker ${worker.process.pid} died with code ${code} (${signal})`);
});
} else {
// Script for each Worker
console.log(`Worker ${process.pid} created.`);
// Run our app
require('./app.js');
}
```You can now start your multithreaded app using the command, `node index.js`. On our 2 vCPUs VPS, this gives the following output:
```
Master 17570 started!
Worker 17577 created.
Worker 17583 created.
Server created!
Server created!
```
Seeing Multithreading in Action
As you can see, our “Master” script successfully detected 2 available cores and spawned 2 “worker” threads. Each of those threads started our `app.js` script and you can see that the `Server created!` output line from that file is logged twice.
You may be wondering how our sample Node.js application can run two servers on the same port, at the same time? What’s so interesting about using `Cluster` is that in most cases we don’t need to modify our original app to make it multithreaded. All traffic on port 8080 (which is the port our app defines), will go through the “Master” thread. Node will automatically divide the load between all our workers that listen to that port.
Try replacing the following line in our demo `app.js`:

```js
res.end("Hello from our demo app! This is worker "+process.pid);
```You may also be interested in: How to Set Up a Node.js Server on a Linux VPS
Global Content Delivery Network using Cloudflare
OK, we’re now using all of our available processing power, but we’re not quite ready yet. Here are a few things we still need to address:
- We’re still running on a single server
- We’re still serving our content from a single geographic point

In theory, you could simply keep adding more servers around the world with increasingly powerful hardware as demand grows. Albeit, this would become very expensive quickly. There has to be a smarter solution, right? The answer is of course. Introducing, Content Delivery Networks, or CDN for short.
Content Delivery Networks
A CDN is essentially a distributed network of caches that keep a copy of the resources you send from your server at multiple Points of Presence (POPs) that are closer to your end-users than your own infrastructure. Here is a useful GIF from Cloudflare which explains this concept really well:
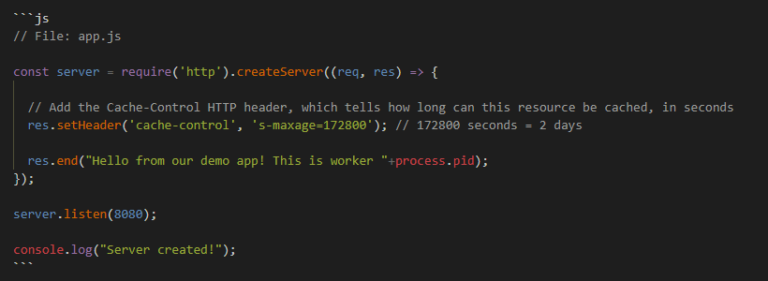
```js
// File: app.js
const server = require('http').createServer((req, res) => {
// Add the Cache-Control HTTP header, which tells how long can this resource be cached, in seconds
res.setHeader('cache-control', 's-maxage=172800'); // 172800 seconds = 2 days
res.end("Hello from our demo app! This is worker "+process.pid);
});
server.listen(8080);
console.log("Server created!");
```
Using the `cache-control` HTTP header, we can target specific resources to be cached by Cloudflare’s CDN. The more resources we let the CDN cache, the less traffic we need to actually serve ourselves. Although, be careful not to cache dynamic pages of your app. This includes access-restricted account settings and to always set a reasonable maximum age.
Our Multithreaded Node.js App: Conclusion
Multithreading
Remember, by restructuring our app to work with multiple threads, we are utilizing all of the available power from the processor cores on our system. This optimization creates “worker” threads to handle multiple processes.
Using a CDN
We also implemented the use of a CDN (Content Delivery Network) within our app using Cloudflare. By using this we can cache content which the servers deliver to those requesting access depending on location. Hence the term, content delivery network!


