
Node.js is a very powerful and popular tool for both servers and applications. This post will detail how to install and set up a Node.js Server on a Linux VPS running CentOS 7. The Node.js application will be managed by PM2, and provide users with secure access to the application. We will also write a very brief Javascript app to respond to requests to the server.
Set up a Node.js Server
Setting up node.js on a Linux VPS is a relatively short and simple task. We simply need to install node.js on our server and start it, and we will also write a very brief app to respond to requests. But before making use of it, let’s define what node.js is and what it offers.
What is Node.js
Node.js is an Open Source JavaScript runtime environment that is useful for both servers and desktop applications. It provides a rich library of various JavaScript modules which simplifies the development of web applications using Node.js to a great extent. Its JavaScript runtime environment achieves low latency and high throughput by taking a “non-blocking” approach to serving requests. In other words, Node.js wastes no time or resources on waiting for I/O requests to return.
Advantages of Node.JS Server
- Node.js is open source, cross-platform and free to use
- It is lightweight and extensible based on JavaScript which can be executed on client-side as well as server-side.
- It works on a non-blocking I/O model that makes it clean, ideal for the data-intensive real-time applications.
- Node.js has bought a revolution in the development circle and has become the preferred option for the top brands like Yahoo, Walmart, eBay, etc.
READ MORE: Pros and Cons of Bringing Node.JS Into Your Project
Install Node.js onto Linux Server
In CentOS, RHEL and other Linux distro’s node.js can be installed using EPEL repository. For that first, we need to install the epel-release by using below command.
# yum install epel-release
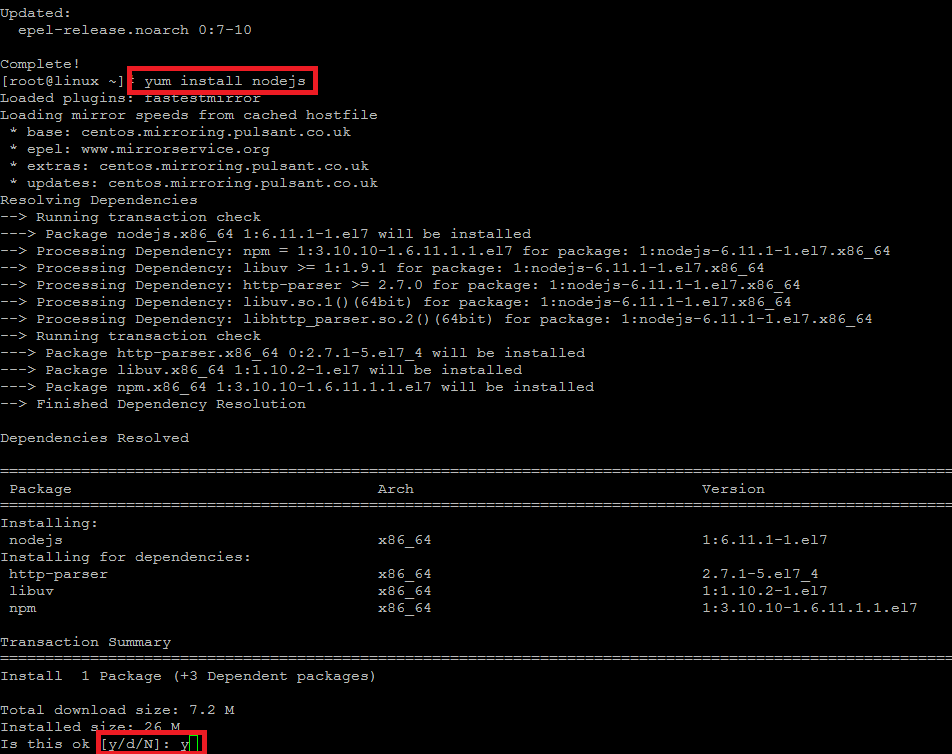
Press ‘y’ to confirm installing the latest epel release. Next, we are good to go for installing the node.js package on our CentOS 7 Linux server. Let’s run the command below and press ‘y’ key to continue.
# yum install nodejs
Once the installation is complete, you can verify the installed version using below command. Now that we have node.js installed, it is time to learn how to set up a node.js server for use.
# node --version
v6.11.1
Set up a Node.js Server
Now we are going set up a sample test application with node.js to returns “Hello World” to any HTTP requests to test its functionality. Create a new file like “hello.js” using any of your command line editor for Node.js application set up.
# vim hello.js
Put the following code in hello.js file, but make sure to replace ‘x.x.x.x’ with your Private IP address that will be used to serve your app.
var http = require('http');
http.createServer(function (req, res) {
res.writeHead(200, {'Content-Type': 'text/plain'});
res.end('Hello World\n');
}).listen(8080, 'xx.xx.xx.xx');
console.log('Server running at http://xx.xx.xx.xx:8080/');
Save and Close the file by hitting ‘escape’ and then using “:wq!”.
Run Node.js Server
Once you have configured your node.js application, you can test if your application works fine by using the following node command.
# node hello.js
Server running at http://xx.xx.xx.xx:8080/
Let’s open a new ssh session and then run the ‘curl’ command to get your app server result.
# curl http://xx.xx.xx.xx:8080
Hello World
Read: How to Build a Basic Web App Using Django
That’s it, if you get the right output then its mean your node.js app is working properly.
Conclusion
Congratulations, you have learned how to set up a node.js server. Its architecture is appropriate for real-time applications like chat and games. It is a powerful tool to include in your development toolbelt.


